How to Clean a Shower Floor
A clean shower floor offers numerous health benefits. It helps minimize the growth of bacteria, reduces the slippery nature of a grimy floor, and can improve mental and physical well-being through the act of cleaning (Sources: VeryWell Mind and Indiana University).
In this article, I will guide you through the process of how to clean a shower floor and help you to identify the most suitable products and methods for various materials.
Quick Navigation
Does the Type of Shower Affect How I Should Clean It?
Certainly! The type of shower you have significantly influences the optimal cleaning method.
Most shower floor surfaces, including tile, fiberglass, and ceramic, can be effectively cleaned using vinegar.
However, it’s important to note that porous, natural stone surfaces like granite and marble require a less acidic cleaning solution to avoid etching (Source: Redblock).
Once you’ve identified the specific material and appropriate cleaning solution for your shower floor, the cleaning steps become fairly universal.
Tub, Tray, or Tiled Floors
Shower floors come in two main types: tiled or as a complete tray unit. They can be made of materials such as ceramic, porcelain, or even stone, each necessitating distinct cleaning techniques.
For instance, avoiding using vinegar on stone surfaces is crucial, as its acidic properties can damage the material (Source: Enviroclean).
Some shower floors are designed as shower trays, while others consist of multiple tiles held together by grout.
If you’re dealing with a shower tray, your focus should be on cleaning the tray or tub and cleaning the sealant that binds it to the rest of the shower unit, as there’s less grout to worry about. Please read our How to Deep Clean Your Shower and Bathtub article for a more detailed guide on deep cleaning your shower or bathtub.
In the next section, I describe a range of material types commonly used for shower floors. If your shower floor is made up of tiles, cleaning the grout (that’s the stuff in between each tile) with a good shower brush is important.
Ceramic Shower Floors
Ceramic shower floors are durable and made from natural materials, often featuring a glazed surface. Ceramic is known for its strength and non-porous surface that prevents water absorption, facilitating easy cleaning and maintenance (Source: Why Tile).
Fiberglass Shower Floors
Fiberglass shower floors consist of a composite material made from glass fibers embedded in a polymer resin, resulting in a lightweight and cost-effective option (Source: FibreGlass Direct).
These surfaces have a smooth and non-porous finish, making them resistant to water and stains. One of their unique characteristics is the reduced amount of grout lines, helping you to simplify cleaning and maintenance (Source: Home Made Simple).
Granite Shower Floors
Granite shower floors epitomize luxury and sophistication, and they are often found in high-end bathrooms due to their premium quality.
As they are composed of natural stone, granite boasts exceptional durability and resistance to moisture.
While its lavish appearance adds elegance to bathrooms, it does require specialized cleaning methods to preserve its quality over time (Source: Surrey Marble and Granite).
Marble Shower Floors
Marble shower floors are another elegant material choice for shower floors that ooze opulence, beauty, and durability (Source: Tile Club).
However, as it is a natural stone, it demands specialized care. Proper cleaning and maintenance is crucial to preserve its pristine appearance (Source: Abbotts at Home)
Helpful Tools to Clean a Shower Floor
Vinegar
Vinegar is best for cleaning tiles, shower trays, and sealants. Avoid using it on natural stone like granite or marble. Vinegar is the active ingredient used in our DIY Daily Shower Cleaning Spray recipe.
Grout Cleaner
Grout cleaner is specifically formulated to target the grout lines between tiles. It helps to remove dirt, grime, and mildew that can accumulate in these porous areas.
You can make your own natural grout cleaning solution using lemon juice, vinegar, and baking soda.
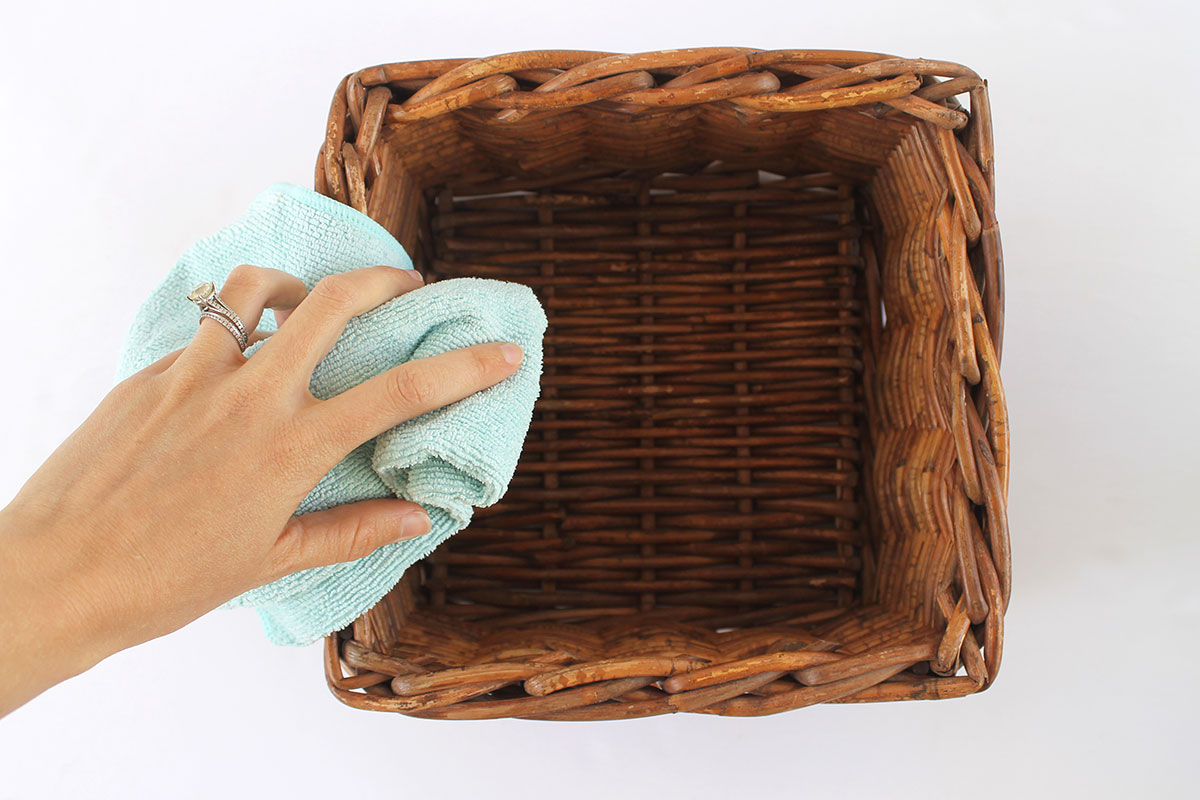
Microfiber Cloth
A microfiber cloth is a gentle yet effective tool for wiping, drying, and polishing surfaces. It helps remove residue and leaves surfaces dry and streak-free.
Poultice
“Poultice” is a fancy word for a cleaning paste specifically for natural stone. It is made by combining a cleaning agent, such as baking soda and water. It’s particularly useful for tackling stubborn stains on surfaces like marble and granite (Source: Tile Club).
A DIY recipe can be found on The Grit and Polish, or you can buy specialist products such as this Marble Polishing Powder.
Squeegee
A squeegee is beneficial for keeping shower walls and floors dry. Using a squeegee after cleaning helps to prevent water spots and minimizes the buildup of minerals and soap scum.
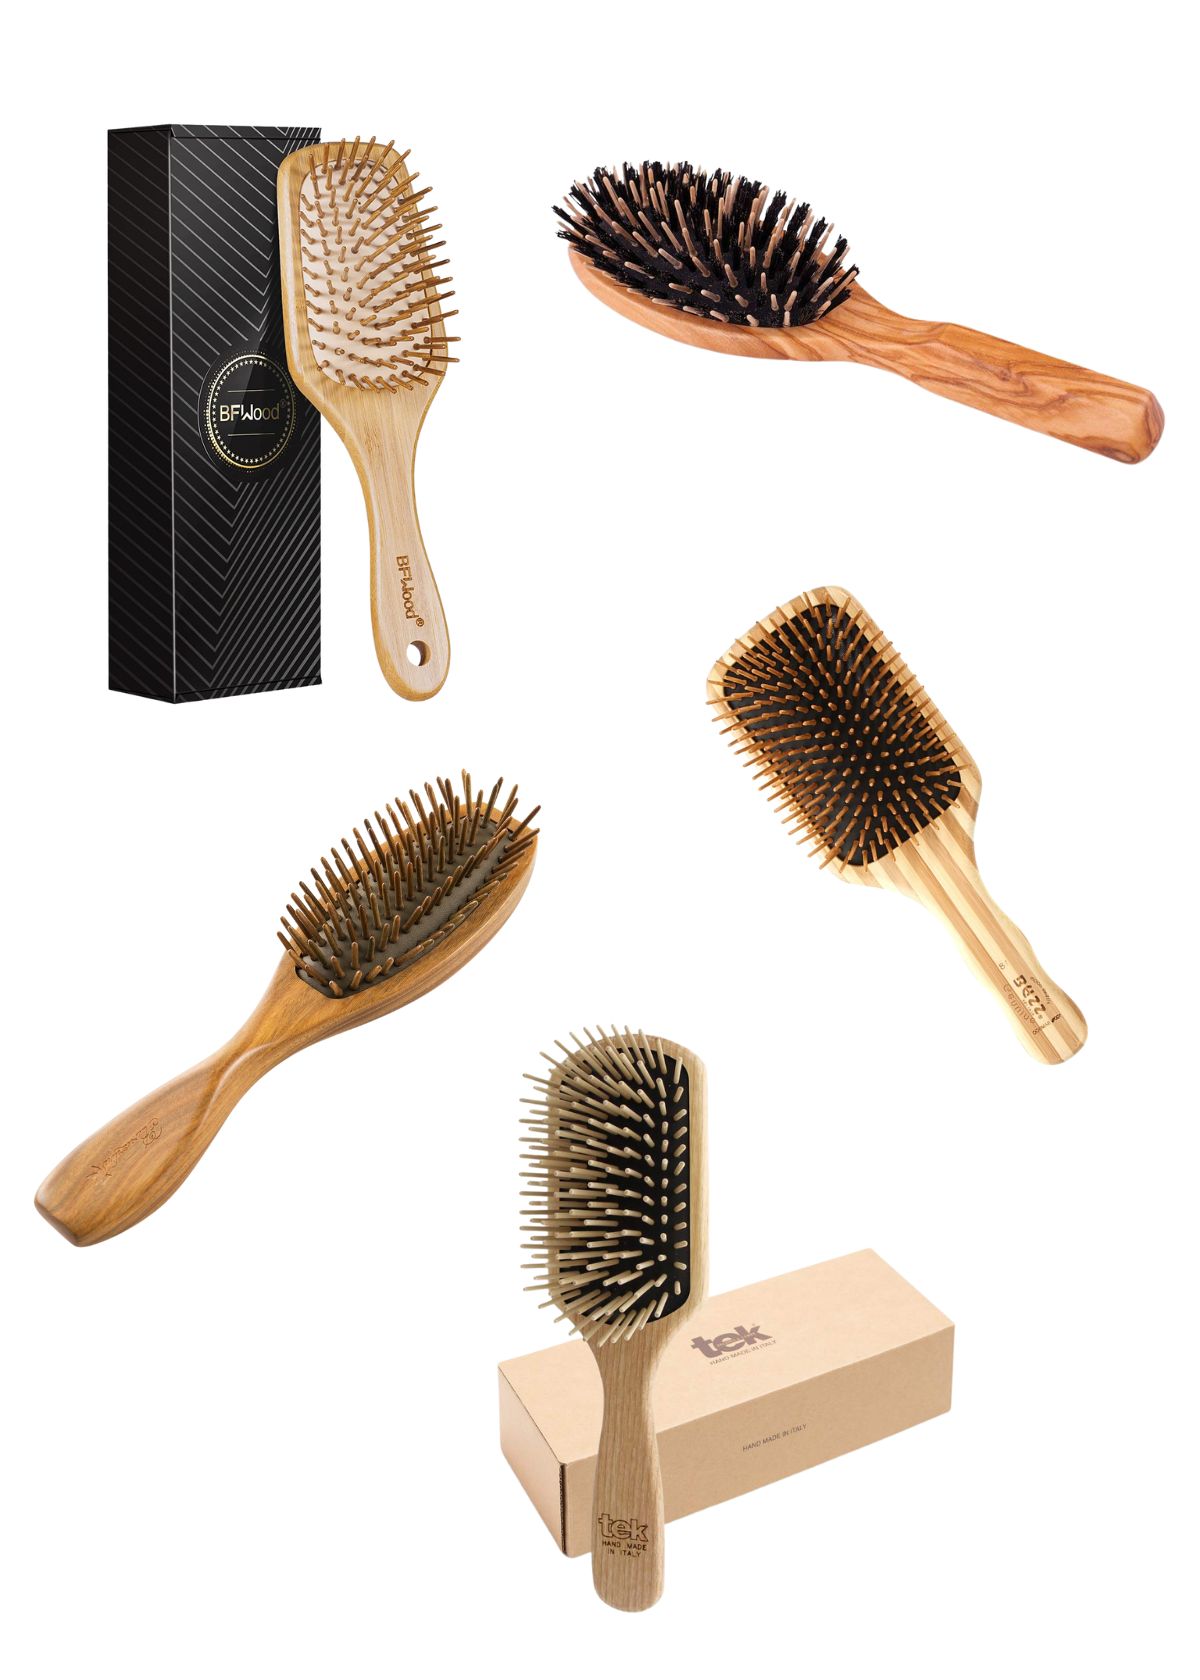
Brush or Toothbrush
Brushes (toothbrushes, in particular) prove invaluable for detailed cleaning. They are excellent at cleaning narrow corners, crevices, and any grout lines that larger tools may struggle with.
If you lack a spare cleaning toothbrush or need a different tool, refer to our guide highlighting the top shower cleaning brushes.
I find that the repetitive nature of scrubbing can be quite taxing, so I use a tool similar to this power scrubber, which has been very handy for a range of cleaning uses.
Spray Bottle
Utilizing a decent spray bottle is crucial for applying your preferred cleaning solution. This is especially true if you like mixing DIY cleaning solutions as it allows you to evenly distribute the product onto surfaces.
How to Clean a Shower Floor
Once the shower floor type is identified and the appropriate tools are acquired, it’s time to clean!
Step 1: Remove all items
An obstruction-free floor is key to getting your floor clean. Remove all items from the area before starting the job.
Step 2: Check grout and address stains or mildew
Take a good look at the grouting around the tiles or shower tray to assess for any signs of mold, mildew, or build-up of dirt and grime.
If there are any obvious signs, try our recipe for a Bleach-Free DIY Grout Cleaner* and decant it into a clean spray bottle ready for use.
Next, spray your chosen solution onto the grout and allow it to sit for at least 30 minutes before using a toothbrush or a shower cleaning brush to scrub in between the tiles.
*Note: Our DIY Bleach-Free Grout Cleaner recipe is not suitable for natural stone. Therefore, I would suggest using a lot of elbow grease and a mild soap to clean in between tiles (such as Dr. Bronner’s Castile Soap) or a specialist natural stone cleaner, such as Method Granite and Marble Cleaner, which you can also use in Step 4.
Step 3: Rinse the grout
Once you have cleaned the grout, rinse it using some warm water and then dry it with a cloth. You may want to do this multiple times to remove any remaining debris. Ensure you get all cleaning products off at this stage.
Step 4: Spray cleaner onto tiles. Allow it to sit.
Once you have cleaned the grout, you can move onto the shower floor tiles or tray itself. Apply your chosen solution and allow it to sit for at least 10 to 15 minutes, but depending on how dirty the area is, you may want to let it sit for 30 minutes to an hour.
Step 5: Scrub with your chosen tools
Next, you want to get a microfiber cloth or a brush and scrub the area. You may need to apply more pressure on particularly dirty surfaces. If you have been scrubbing for a while and the dirt is not budging, revisit Step 4 and allow the cleaner to sit for longer before trying again.
Step 6: Rinse thoroughly
The next step is to rinse the area thoroughly. You can either pour a jug of water or use the shower hose to rinse down the area.
Step 7: Squeegee and dry
With your shower floor now clean and pristine, your next step is to squeegee and dry the area, minimizing the risk of unintended slips on a wet surface. Ensuring the shower floor is dry is imperative, as any residual moisture is a catalyst for mold and mildew formation.
Final Thoughts on Cleaning Shower Floors
Cleaning a shower floor is easy with these tips and tricks. Now you know the best natural cleaning method for a variety of floor types, you can easily get your shower floor clean in no time!
FAQs
How often should I clean my shower floor?
This depends on the household and the use of the shower, and it is all a personal preference. However, I would recommend a daily superficial clean in a high-traffic household to prevent build-up of dirt or grime alongside a weekly deep clean, focusing on areas such as grout.
One simple trick for daily cleaning is to keep a scrub brush with cleaning solution IN your shower. Each time you take a shower, give the walls, grout, and floor a quick scrub, then rinse before getting out and drying off. See the video below for the scrub brush we recommend:
When should I clean my shower floor?
Whilst it is tempting to leave a shower floor until it is visibly dirty, it is best to hose down the shower floor after every shower/bath or once daily for high-traffic households to prevent build-up. When to clean a shower floor entirely depends on your routine, but cleaning a shower after the last person has used it makes sense so it is clean for the next use.
What’s the best way to get rid of mold?
You can mix up a DIY solution to remove mold from simple, natural ingredients such as lemon, vinegar, or baking soda. The Maids have a fantastic recipe to get rid of mold naturally. Remember to never use acidic ingredients such as natural stone, so I would advise using a natural stone product or a paste of baking soda with water.
For more stubborn mold stains, I very cautiously use bleach. My method is to lay cotton wool (or paper towel) along the grout or sealant between the tiles and the tub and soak the cotton in bleach.
I allow it to sit for an hour, with the extractor fan on, before removing it with gloves and disposing immediately. I then wipe the area down gently with an old, damp cloth that I don’t mind getting bleached.
Whilst I prefer not to use bleach, I’ve only had to do this once, when I first moved in!
What’s the best way to get rid of soap scum and stains?
I like using Method’s Daily Shower Spray in my daily shower cleaning routine. I am extremely impressed with the results; all I need to do is spray. There is no need for rinsing or scrubbing as the shower spray uses a plant-based formula to dissolve and prevent soap scum.
If you like to have complete control over your cleaning ingredients, try our DIY Daily Shower Cleaning Spray.
Are there any preventative measures I can take to make cleaning easier?
You can make cleaning the shower floors much easier for yourself with preventative measures.
Keep up with general cleaning of the area, including washing down any soap residue after each shower. Don’t forget to clean your shower walls as well, as gravity will pull any residual soap scum down to the floor!
We have a list of DIY and store-bought daily shower cleaning spray recommendations.
Personally, I use Method Daily Shower Spray after every shower. Simply spray the product onto the surfaces after showering – there is no need for rinsing or scrubbing as this spray uses plant-based cleaning power to dissolve and prevent soap scum on shower surfaces.

