How to Clean a Waterpik
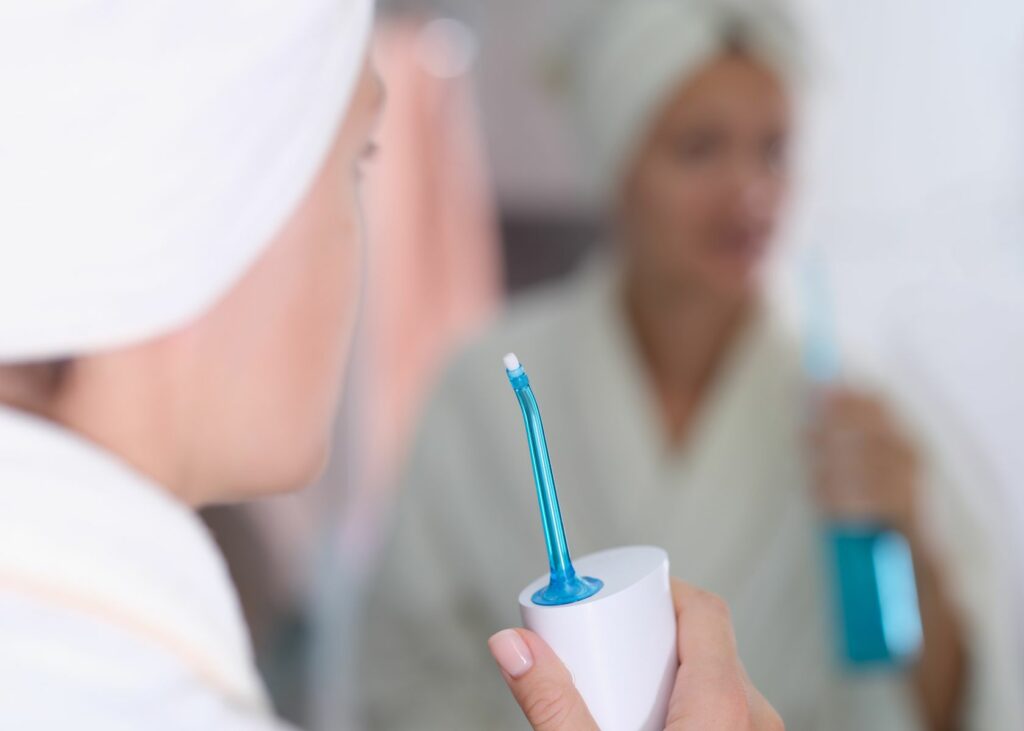
Do you have a water flosser like a Waterpik? Chances are that you might, or that if you don’t, you could benefit from one!
Oral diseases, including tooth decay, gum disease, and oral cancers affect almost half of the global population, and sales of water flossers like Waterpik’s have been increasing year over year to treat and reduce oral diseases. (Source)
Regularly cleaning your Waterpik will help to prevent mineral deposits from collecting. Mineral deposits can result in your Waterpik losing pressure and effectiveness.
To get a better understanding of why and how to properly clean a Waterpik, I interviewed Dental hygienist Theresa McCarter, BSDH, RDH, and she reinforced the important role a Waterpik plays in our oral health, “After the gut, the mouth has the second largest number of bacteria. That being said, it’s important to make sure that the oral devices you put in your mouth are clean and as free of bacteria as possible.”
With just a few common household ingredients, you’ll be able to clean your water flosser and ensure your Waterpik is in top shape!
Quick Navigation
How to Clean a Waterpik Step-by-Step
Tools and Materials:
Waterpik Cleaning Instructions:
Dental Hygienist Theresa McCarter notes, “Waterpiks or water flossers have carbon tubing which love biofilms. Keeping these tubings clean is important to reduce bacteria.” She suggests using a solution of water and white vinegar or hydrogen peroxide to clean the Waterpik.
Regularly cleaning your Waterpik will also help to maintain ideal pressure and effectiveness.
The step-by-step guidelines below will walk you through the Waterpik cleaning process.
Step 1: Clean the Outside of the Unit
After unplugging the unit, use a soft cloth and gentle cleanser like mild dish soap diluted in water or a non-abrasive cleanser to gently clean the outside of the Waterpik unit.
Step 2: Empty and Clean the Water Reservoir
Remove the water reservoir from the unit and empty any water. If your reservoir has a black valve, remove the black valve.
Wash the water reservoir with warm, soapy water using a soft cloth. Allow to air dry.
Alternatively, you can place the water reservoir in the top rack of the dishwasher. Let the water reservoir air dry or turn off the heat dry cycle to prevent excessive heat.
Step 3: Disassemble and Clean the Flosser Tip
If applicable, remove the flosser tip from the Waterpik handle. Reference your manual for detaching the nozzle, as different models may have different methods.
Rinse the flosser tip under warm water to remove any visible debris.
Soak the flosser tip for 5 minutes in a mixture of 1 part hydrogen peroxide (or vinegar) to 2 parts water.
Rinse the tip under warm water.
If you have mineral deposits, use a solution of equal parts water and vinegar to soak the nozzle for 15 – 30 minutes.
Step 4: Clean the Handle
Soak the handle in 2 parts vinegar and 1 part water for 5 – 7 minutes.
Rinse the handle under warm water.
Step 5: Reassemble the Unit
Once all pieces are clean and dry, assemble the Waterpik by attaching the flosser tip back onto the handle and placing the water reservoir back on the unit.
Step 6: Run a Cleaning Cycle
Fill the reservoir with 1 – 2 tablespoons of vinegar and the rest of the reservoir with warm water.
Turn on the Waterpik and run a cleaning cycle with the vinegar-water solution.
After cleaning, run another cycle with only water to remove any vinegar smell (or taste!).
What to Avoid When Cleaning a Waterpik?
Avoid putting the base in water, as we know that water and electricity do not mix!
Do not use abrasive materials such as bleach, salt, baking soda, and essential oils. They can damage the Waterpik.
Be sure to use a soft cloth when cleaning instead of a harsh sponge or brush.
How Do I Keep Mold Out of my Waterpik?
To prevent mold from forming, you’ll want to prevent humidity and moisture from building up.
- Regularly emptying and refreshing the water
- Use a towel to wipe down the remaining moisture after cleaning
- Monthly deep cleaning, as detailed above
Consider storing your Waterpik in a dry, well-ventilated area outside of the bathroom and at least 6 feet away from a flushing toilet. Humidity in bathrooms can contribute to mold growth.
How Often Do I Need to Clean My Waterpik?
Ideally, clean your Waterpik every 1-3 months using the steps above, depending on the frequency of use.
Theresa McCarter provided the below daily and weekly steps to reduce the collection of biofilm in the tubing as she notes, “Biofilm loves moisture and warmth.”
Daily Waterpik Cleaning:
- Remove the water reservoir
- Turn on the flosser for 30 seconds to release any remaining water from the tube
- Wipe the surface with a dry cloth
- Allow it to air dry
Weekly Maintenance:
- Pour vinegar/water solution into the water reservoir (1- 2 tablespoons of vinegar, the rest of the reservoir with water)
- Run a cleaning cycle so the solution moves through the Waterpik
- Run clean water through to rinse all of the solution out of the tubing
FAQs
Replace the water tip every 3 – 6 months so it does not become clogged with mineral deposits.
You should not use bleach to clean your Waterpik. It may damage your Waterpik and reduce efficacy.
A Waterpik should last 5 – 7 years with regular maintenance and cleaning.
Final Thoughts
Hopefully, you now feel confident about how to clean your Waterpik!
Waterpiks are a great tool to help prevent oral disease, and it’s important to keep the Waterpik clean and functional for optimum usage.
Consistent maintenance will uphold your Waterpik’s efficiency, ensuring an optimal oral care experience and the longevity of your Waterpik.


